
Introduction
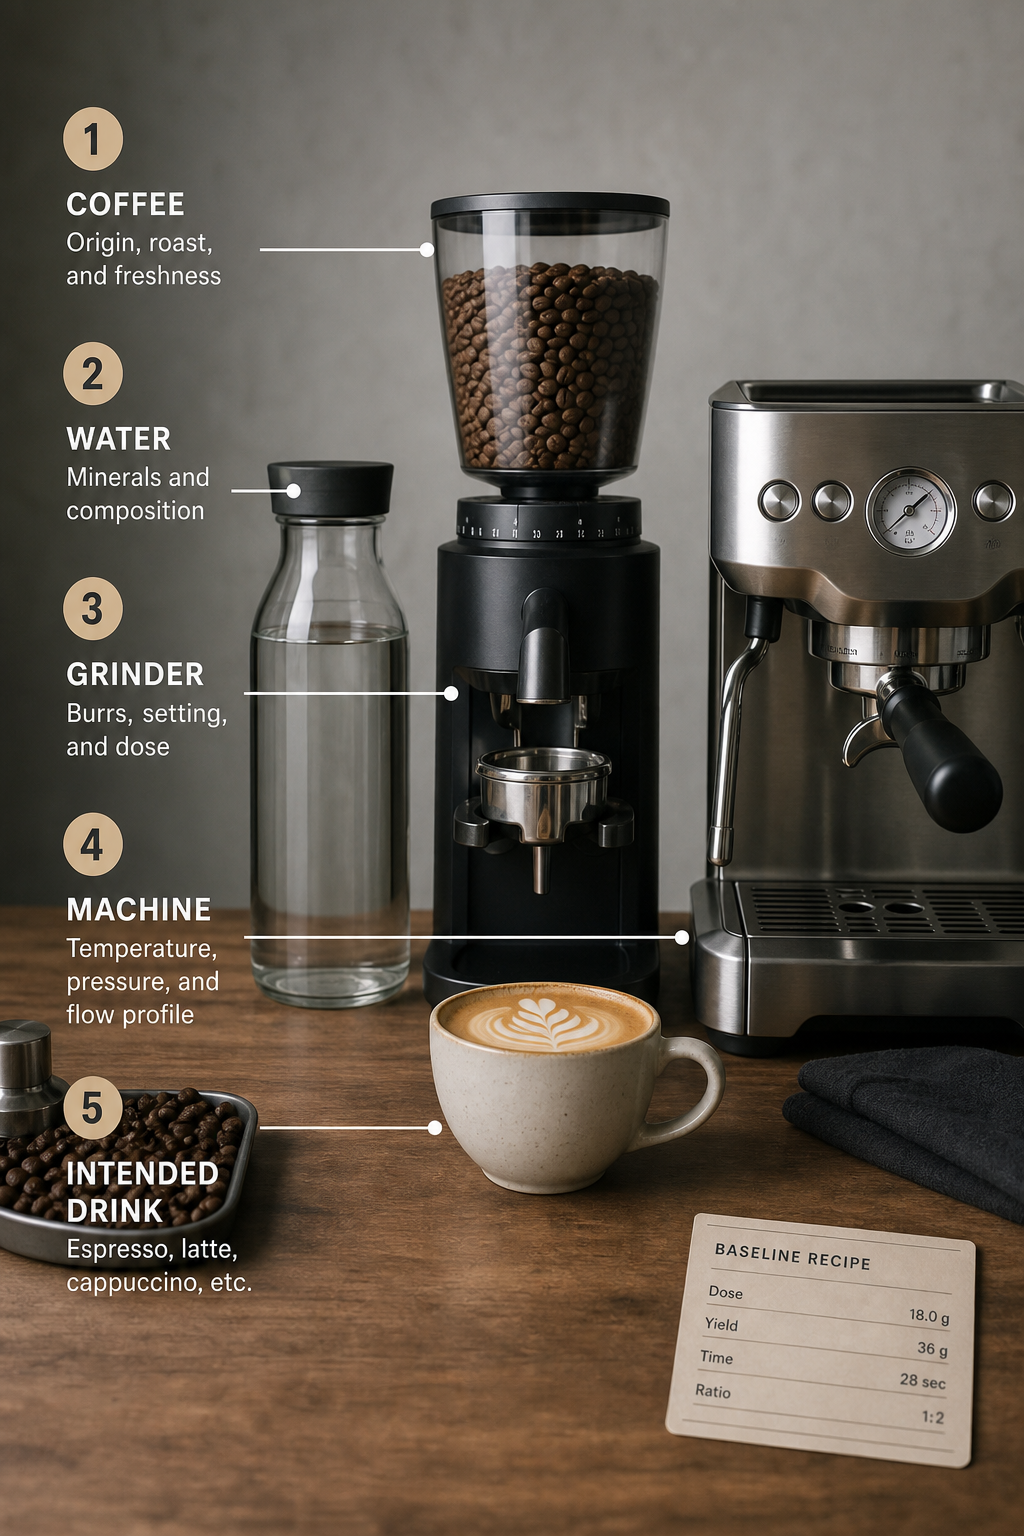
Dialing in espresso is calibration, not a hunt for one magic ratio or one perfect shot time. The useful outcome is a recipe you can repeat with this coffee, in this basket, on this grinder and machine, for the drink you plan to serve—straight, diluted, or with milk.
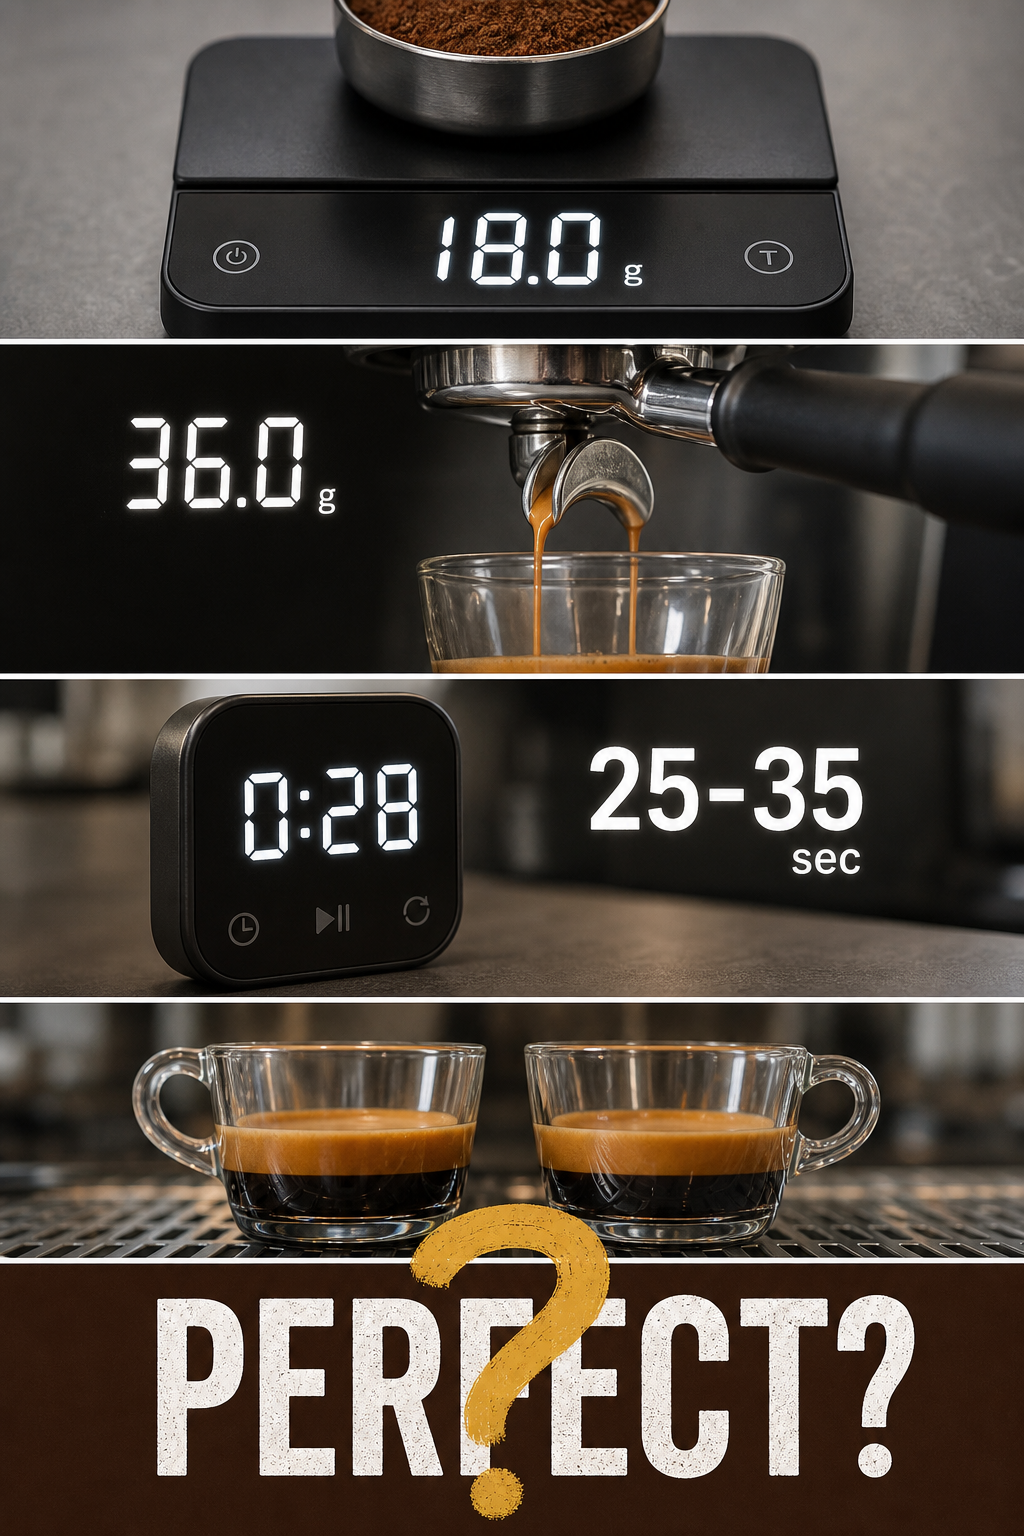
One reported espresso convention is a 1:2 brew ratio: 18 g of dry coffee producing 36 g of espresso in 25–35 seconds at about 9 bars. Use that only as a provisional starting point. The supplied reporting does not establish it as a universal standard, and coffee, water, equipment, recipe requirements, and preference can all change the cup you prefer. BeverageDaily’s reported espresso fundamentals describe that convention, but it should be tested rather than obeyed.
This is a workflow guide, not a full flavor-defect dictionary. Sourness, bitterness, thinness, harshness, and dryness are observations that can suggest a next experiment; they are not guaranteed proof of one mechanical cause. The aim is simpler: measure, taste, make one deliberate change, and learn from the comparison.
1. Build a baseline
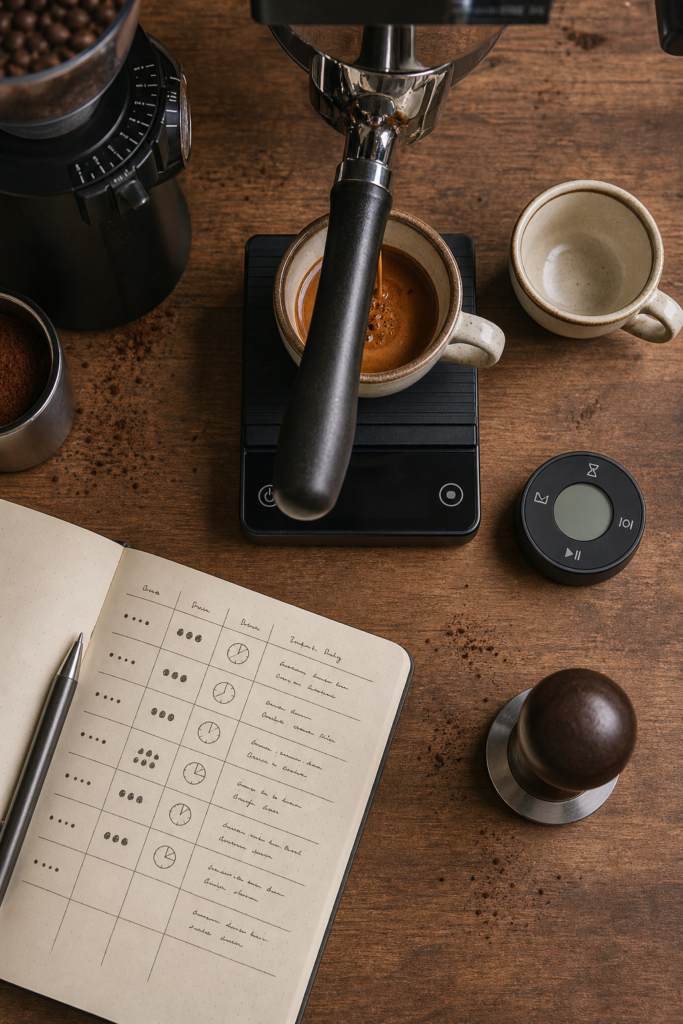
Before pulling a shot, define what “the same shot” means in your setup. You need a scale, a timer, and a notebook, spreadsheet, or shared cafe log. Record:
- Coffee: name, roast information or roast date if available, and any freshness note.
- Setup: basket size and type, portafilter, machine, grinder, and a repeatable grinder-setting reference.
- Dose: the mass of dry ground coffee placed in the basket.
- Target yield: the mass of brewed espresso you intend to collect in the cup.
- Time method: exactly when the timer starts and stops. Pick one start point and use it every time.
- Drink context: straight espresso, Americano, milk drink, or a defined house recipe.
- Preparation notes: whether the basket was clean and dry, how you distributed and tamped, and anything unusual during grinding or brewing.
Use the same preparation routine for every baseline puck: weigh the dose, distribute as consistently as you can, tamp in the same manner, and use the same scale position and cup. This does not promise identical shots. It makes differences easier to spot and less likely to be confused with an unrecorded handling change.
A practical starting recipe can be the reported 18 g in / 36 g out example. Observe what happens near the reported 25–35-second window, then let your own measured and tasted shots direct the next move. It is a calibration point, not a pass/fail standard. The supplied material broadly identifies ratio, grind size, and brew time as factors that influence taste and balance, but it does not establish a single best espresso recipe for every setup. Daily Rise Coffee’s overview of reported SCA brewing factors supports that broad framing.
For initial tests, choose a dose that suits your basket or established house recipe, then hold it steady. That is a workflow recommendation: it reduces the number of moving parts in your comparison. If you later change dose for basket fit, drink design, or a cafe specification, treat the new dose as a fresh baseline and restart your grind tests.
2. Pull and taste
Treat the first shot as an observation, not a verdict. Use the same sequence each time:
- Put the cup on the scale and tare it.
- Dose the basket and record the dry coffee mass.
- Lock in the portafilter and start the timer at your chosen consistent point.
- Stop at the intended beverage yield, measured by mass.
- Record the actual yield, elapsed time, and a simple visual flow note.
- Taste the espresso under consistent conditions. If it has visibly separated in the cup, mix it first so each taste represents the whole beverage.
Your entry might read: 18.0 g in, 36.2 g out, 29 seconds. Alongside it, write sensory observations: aroma, sweetness, acidity, bitterness, body, and finish. Plain language is useful: “bright but sharp,” “sweet and round,” “thin through milk,” or “dry aftertaste.”
Numbers give the shot context; they do not overrule taste. A shot can land at a familiar ratio and time yet miss the intended balance. Another may sit outside a familiar number and work beautifully for the coffee or drink format. For cafe teams, taste against a defined service goal: for example, whether the espresso remains pleasant on its own and still reads clearly through the milk volume used in the menu drink.
3. Make one change
Use this default decision rule: hold dose steady, test a grind adjustment when you want to investigate a change in the shot’s flow and observed time, then retest at the same dose and intended yield. This is a practical experiment design, not a claim that a particular grinder direction will produce the same result on every machine. Make a small, repeatable grinder move, pull the shot, and see what your own scale, timer, and palate show.
Choose yield as the next test when the shot is reasonably consistent in its measured flow but you want to investigate concentration or finish. Hold dose and grinder setting fixed, then stop the next shot at a deliberately shorter or longer beverage mass. That comparison can produce a different sensory result even though dose and grind reference are unchanged. It does not guarantee that a named yield change will correct a named flavor.
The four-variable map
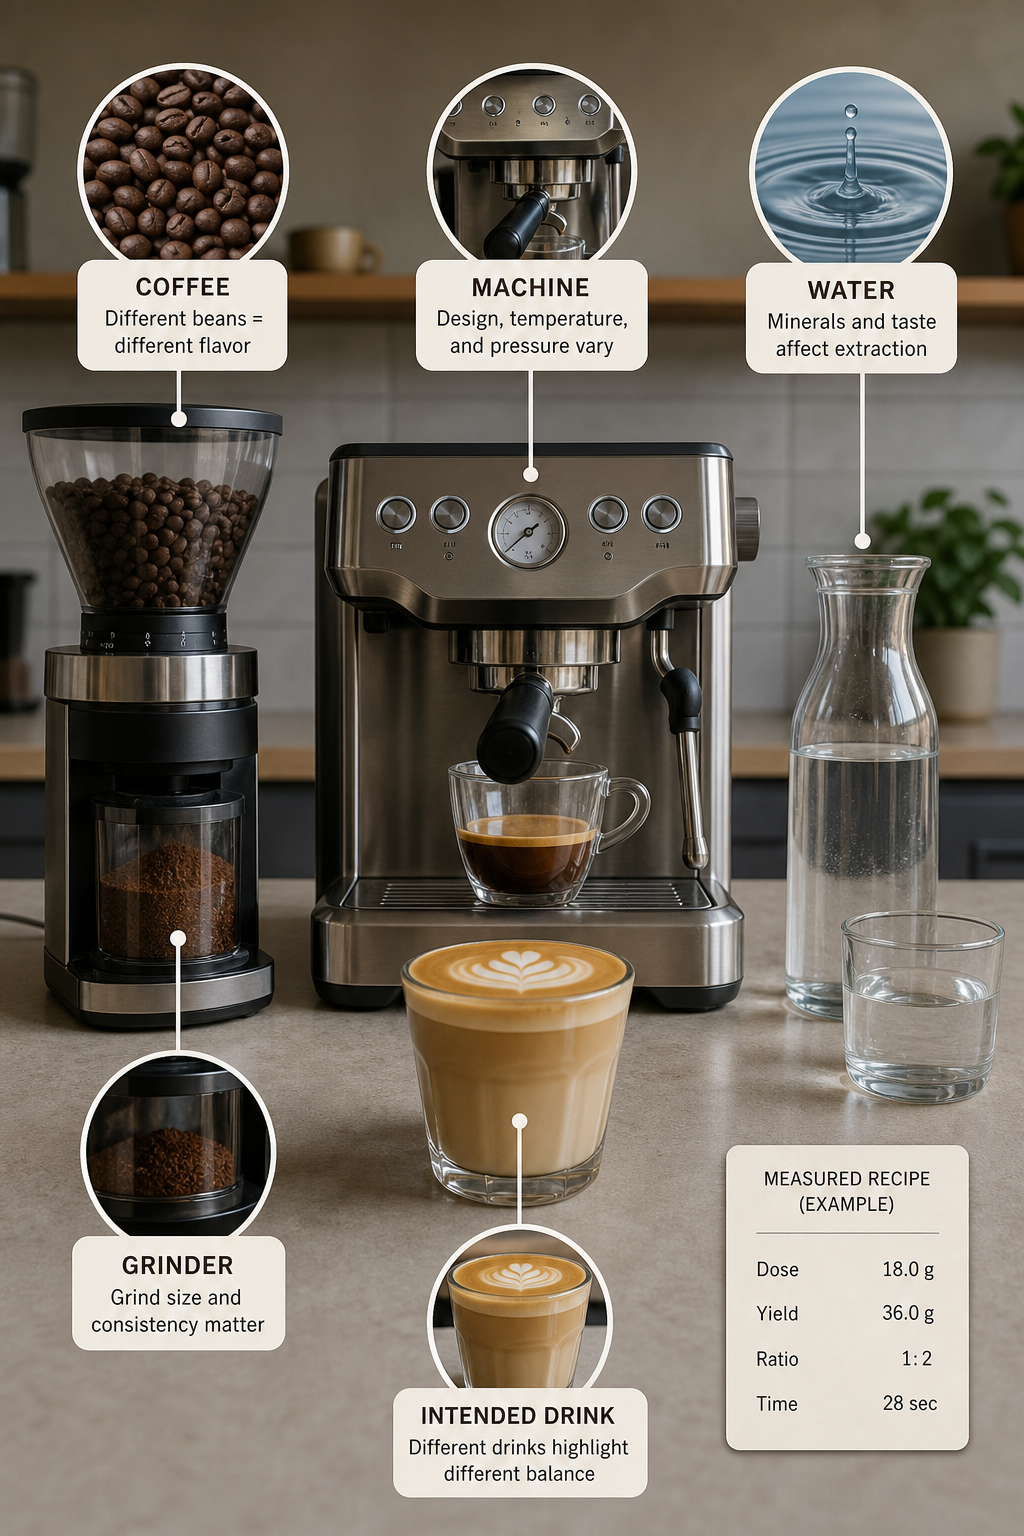
Use this compact model to keep the variables connected without treating any of them as universal targets:
| Variable | Practical role in a dial-in | What to hold or test | What to record |
|---|---|---|---|
| Dose | Sets the starting dry-coffee mass for your basket or house recipe. | Set it first; hold it stable for initial trials. If it changes, begin a new grind calibration. | Dry mass in grams and reason for any change. |
| Grind | A controlled input to test when you want to investigate a flow and time change. | Keep dose and target yield fixed for that test. | Grinder reference, yield, time, and taste. |
| Yield | The beverage mass in the cup; use it to test a different concentration or finish. | Keep dose and grind reference fixed for a yield test. | Beverage mass, time, and taste. |
| Time | A measured outcome of the recipe and shot you pulled—not a verdict by itself. | Compare it with previous shots made under controlled conditions. | Elapsed seconds, plus flow and sensory notes. |
The trade-off is interpretive. Change dose and the earlier grind comparison no longer answers the same question, so restart from a fresh baseline. Change yield while dose and grind are fixed, and you have isolated a different beverage-mass test. Change grind with dose and yield fixed, and you have isolated a grind-setting test. Time belongs in every record because it helps compare these experiments, but it should not be forced to match somebody else’s number.
Deviate from the default order when the context justifies it:
- Basket or recipe requirement: set the required dose first, then calibrate again from there.
- Fixed cafe output: if a menu recipe specifies the beverage mass, keep yield fixed and run your grind tests around it.
- Taste is close, but concentration is not: test yield before touching the grinder.
- Obvious preparation mistake: repeat the same recipe instead of treating the shot as meaningful dialing-in data.
Changing one variable at a time will not make espresso simple, but it makes the result interpretable. Change dose, grind, yield, and preparation together, and even a better-tasting shot teaches you little about how to repeat it tomorrow.
4. Retest and record
| Shot | Dose | Grind ref. | Yield | Time | Taste note | One next change | Result |
|---|---|---|---|---|---|---|---|
| 1 | 18.0 g | 10 | 36.0 g | 22 s | Bright, sharp, short finish | Change grind reference only | Baseline |
| 2 | 18.0 g | 9 | 36.0 g | 28 s | Sweeter, rounder, still lively | Repeat unchanged | Test repeatability |
| 3 | 18.0 g | 9 | 36.1 g | 29 s | Similar sweetness and body | No recipe change | Keep recipe |
Run the same loop: change one input, pull, measure dose/yield/time, taste, compare, and record the next move. Sensory cues should prompt experiments rather than act as diagnoses carved in stone. A sharp or sour-tasting shot may lead you to test a grind adjustment; bitterness, harshness, or dryness may lead you to test another controlled adjustment or a yield comparison. A thin cup may make a yield test worth trying. Coffee condition, preparation, water, equipment behavior, and personal preference can complicate every interpretation.
Here is a fictional example. It uses the reported 18 g / 36 g baseline solely as an illustration; the grinder references, taste notes, and decisions are not universal targets.
| Shot | Dose | Grind reference | Yield | Time | Taste note | One next change | Result |
|---|---|---|---|---|---|---|---|
| 1 | 18.0 g | 10 | 36.0 g | 22 s | Bright, sharp, short finish | Change grind reference only | Baseline |
| 2 | 18.0 g | 9 | 36.0 g | 28 s | Sweeter, rounder, still lively | Repeat unchanged | Test repeatability |
| 3 | 18.0 g | 9 | 36.1 g | 29 s | Similar sweetness and body | No recipe change | Keep recipe |
If Shot 2 had tasted balanced but too concentrated for the intended milk drink, the next test could instead keep its 18.0 g dose and grind reference of 9, then use a different yield. That would answer a different question from another grind test. Write that purpose in the log so a future you—or the next barista—can understand why the recipe moved.
Ready-to-use dialing-in log
| Date/time | Coffee and freshness note | Basket/machine | Grinder reference | Dose | Yield | Time | Preparation or flow note | Taste and mouthfeel | One change from prior shot | Decision/initials |
|---|---|---|---|---|---|---|---|---|---|---|
For home use, a notebook or notes app is enough. For a cafe, use a shared opening or coffee-change record. Include the current approved recipe and the reason it was chosen, so staff do not unknowingly restart the dial-in during service.
Use a practical stopping rule: stop when the espresso expresses the intended balance, you can state why you prefer it, and at least one repeat shot is close enough in dose, yield, time, and taste to serve confidently. In a cafe, also ask whether it is workable during normal service. If the next adjustment would only make the cup different, rather than addressing a clear balance or consistency problem, preserve the recipe.
Conclusion
A reliable dial-in follows a calm sequence: measure, pull, taste, change one variable, retest, and record. Set dose to fit the basket or house recipe, hold it stable for your first comparisons, use grind as the default controlled flow test, use yield deliberately to test concentration and finish, and treat time as evidence to compare rather than a score to chase.
The final recipe belongs to the coffee and setup in front of you. When it tastes balanced for its intended drink and repeats closely enough for your home routine or cafe service, it is dialed in—even if its ratio or time does not match somebody else’s favorite number.
추천상품
이 포스팅은 쿠팡 파트너스 활동의 일환으로, 이에 따른 일정액의 수수료를 제공받습니다.